
How to Release your Tight Groin/Adductor Muscles – Mobility Suite
- Dr. Mitch Israel
- Hips, Mobility, Stretching
How to Release Your Tight Groin Muscles: Tips and Exercises
Do you experience tightness or discomfort in your inner thighs? If so, you might be dealing with tight groin or adductor muscles. These muscles are crucial for various movements, including walking, running, and squatting. In this article, we will explain what the groin muscles are, why they can become tight and painful, and provide a three-step approach to effectively release tight groin muscles. Let’s get started on your path to improved mobility and reduced discomfort.
If you prefer videos, watch the video version below!
Understanding the Groin/Adductor Muscles
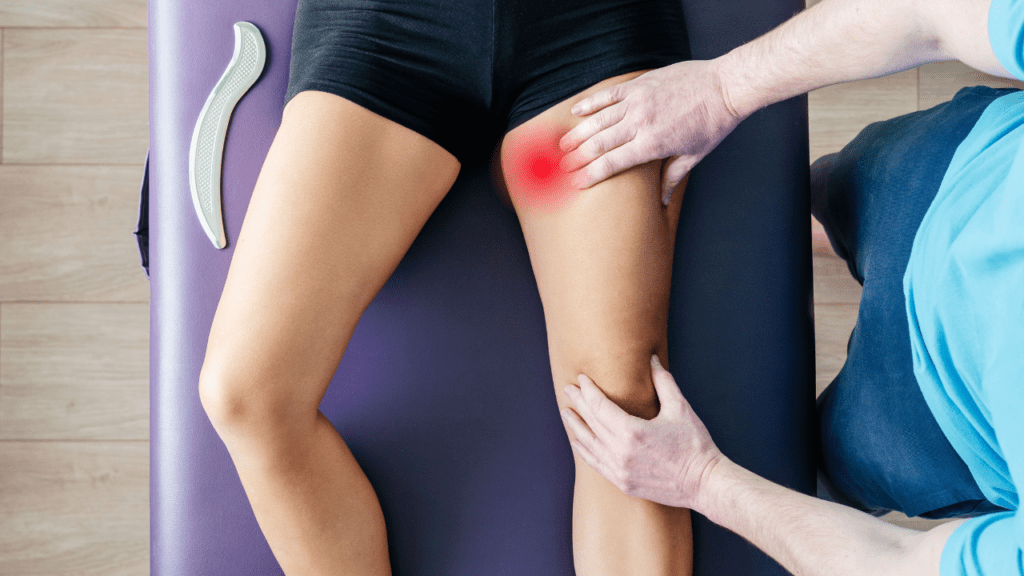
The groin muscles, also known as the adductor muscles, are a group of muscles located on the inner thigh. They include the adductor brevis, adductor longus, adductor magnus, gracilis, and pectineus muscles. These muscles are primarily responsible for adduction, which is the movement of pulling the legs toward the midline of the body. They also assist in stabilizing the pelvis and hips during various activities.
Why Groin Muscles Become Tight and Painful
There are several reasons why your groin muscles might become tight and painful:
- Overuse: Repetitive movements or excessive physical activity can strain the adductor muscles, leading to tightness and discomfort.
- Inactivity: Prolonged periods of sitting or inactivity can cause the groin muscles to become tight due to lack of movement.
- Imbalance: Muscle imbalances between the adductors and their opposing muscles (abductors) can lead to tension and pain.
- Injury: Strains or tears in the adductor muscles from sports or sudden movements can result in tightness and pain.
A Three-Step Approach to Releasing Tight Groin Muscles
To effectively release tight groin muscles, it’s essential to follow a comprehensive approach that addresses muscle tension, restores motion, and reinforces stability. Here’s a detailed plan:
1. Reduce Tension with an Adductor Rockback Stretch
The first step in alleviating tightness is to reduce tension in the groin muscles through stretching.
- Adductor Rockback Stretch:
- Begin on all fours with your hands directly under your shoulders and your knees wider than hip-width apart.
- Extend one leg out to the side, keeping it in line with your hip and foot flat on the ground.
- Slowly rock your hips back towards your heels until you feel a stretch in the inner thigh of the extended leg.
- Hold this position for 30 seconds, then return to the starting position.
- Repeat 2-3 times on each side.
This stretch helps to lengthen the adductor muscles, reducing tension and preparing them for further mobility exercises.
2. Restore Motion with an Adductor PAIlS/RAILs Exercise
Once tension is reduced, the next step is to restore motion in the groin muscles using Progressive Angular Isometric Loading (PAILS) and Regressive Angular Isometric Loading (RAILS) exercises.
- Adductor PAILs/RAILs Exercise:
- Set Up: On all fours, extend one leg out to the side; other knee under hip, hands under shoulders.
- Rock Back: Slowly rock hips back towards the heel until you feel a stretch in the inner thigh of the extended leg; keep back straight and core engaged.
- Hold Stretch: Maintain the stretch for 1-2 minutes.
- PAILs Contraction: Press extended leg down into the ground, increasing effort to 70-80% over 10-15 seconds
- Sink Deeper: Relax and rock back slightly more; hold for 10-15 seconds.
- RAILs Contraction: Attempt to lift the extended leg off the ground, increasing effort to 70-80% over 10-15 seconds
- Repeat: Repeat the Pails/Rails contractions for 2-3 rounds
- Switch Sides: Return to the quadruped position and repeat on the other side.
This exercise helps to increase the range of motion in your adductors by actively engaging and stretching the muscles.
3. Reinforce with Strength and Stability using the Copenhagen Plank
The final step is to reinforce the mobility gains with strength and stability exercises, specifically targeting the groin muscles.
- Copenhagen Plank:
- Lie on your side with your top leg supported on a bench or a chair and your bottom leg extended below it.
- Prop yourself up on your forearm, keeping your body in a straight line.
- Lift your hips off the ground, using your adductor muscles to maintain stability.
- Hold this position for 20-30 seconds, gradually increasing the time as you get stronger.
- Repeat 2-3 sets on each side.
The Copenhagen plank is excellent for building strength and stability in the adductor muscles, ensuring they remain flexible and resilient.
Conclusion
Releasing tight groin muscles requires a strategic approach that addresses muscle tension, restores motion, and reinforces stability. By incorporating the adductor rockback stretch, adductor PAILs/RAILs exercise, and Copenhagen plank into your routine, you can effectively alleviate tightness and discomfort in your groin muscles. Consistency is key—regularly practicing these exercises will help you maintain flexibility, prevent future tightness, and improve overall mobility.
If your symptoms persist or worsen, consider consulting with a healthcare professional for personalized advice and treatment. By taking proactive steps to release tight groin muscles, you can enjoy a pain-free, active lifestyle and enhance your physical performance. Start incorporating these strategies into your daily routine today and experience the benefits of improved groin muscle health.
Need a consistent plan for Mobility Training?
Do you know you need to train your mobility, but you don’t know where to start? Don’t worry, I have you covered! That is exactly why I created the Mobility Suite App so you can start mobility training for a fraction of the price of seeing a physical therapist and/or chiropractor!
I’ve created a library of mobility training programs (from hip mobility to spinal mobility) that you can have on-demand access to. These programs were carefully crafted to help you get the most out of mobility training with only minutes of work per training session! Less is more with mobility training. The most important thing is consistency! So, if you need a consistent strategy, start your FREE 7-day trial to my Mobility Suite App!
Why offer a 7-day free trial? I firmly adhere to the “1-week rule.” If you commit to consistent mobility training for one week, you’ll gather enough data to determine if it’s right for you. I’m confident that these programs will benefit you, and I want to give you the chance to experience it firsthand, completely free for one week. This way, you can determine whether mobility training aligns with your goals and needs without any financial commitment!
You have nothing to lose but the stiffness in your joints. Don’t let discomfort hold you back any longer— tap/click the button below to join today and take the first step toward a more mobile and pain-free lifestyle!